|
|
Natural Science Lessons for KS1We are a participant in the Amazon Services LLC Associates Program, an affiliate advertising program designed to provide a means for us to earn fees by linking to Amazon.com and affiliated sites. This costs the purchaser nothing extra. In this way I can continue to provide free resources. Thank you for your support. |
|
This post contains affiliate links.
This lesson can be studied in either spring, summer or autumn.
Why study leaves?
The National curriculum for KS1 places great emphasis on children learning about plants and animals in the local environment. This is central to success as young children learn best from what they can experience. They cannot experience foreign plants - they do not see them! Always start with what is there for them to see. After that, children should:
learn through the seasons learn to make observations learn to question learn to compare learn to record A study of leaves harnesses the natural interest of children as leaves are all around us. In spring we notice them more as they burst out in fresh greens and again in autumn as they change colour, but summer is just as good, when they are fully grown. In fact - it would be even better to study them twice in the year so that you could compare and contrast them in different seasons. It would be easy to miss them by as we are so familiar with them, however that is a mistake, as leaves are a major part of plants and are one of the main ways by which we can identify plants from each other. This lesson aims to help children to become more observant of leaves so that one day they can tell a plant by its leaves. It will also help them to become familiar with changes that plants undergo as the seasons change. This lesson will provide ample opportunity to question, compare, observe and it can always be followed up again in autumn when the leaves change: "Why have they changed? How have they changed? What will happen next? Most of the learning about science should be done through the use of first-hand practical experiences, Before the lesson - teacher preparation
The best KS1 lessons first observe the subject in situ. Even if most of the follow up work is done in class, your children will take in more of what you teach if they have first hand experience. So for this lesson, we will be taking the children out to look at leaves growing the local environment. Don't we all love a little outing! First you need to plan and learn for yourself.
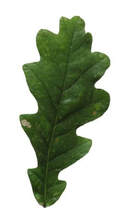
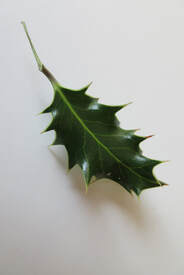
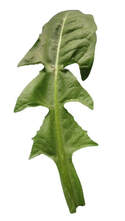
1. Go for a short exploratory walk around the school playground and if need be in the area around the school, looking for leaves that you can take your children to see. 2. Collect some leaves (for yourself). 3. Study your leaves. First identify them if you can. 4.Then look at their shape: Are they formed of several leaflets, or all in one piece? What is the edge like? deeply cut, smooth, prickly, zig-zag, etc...
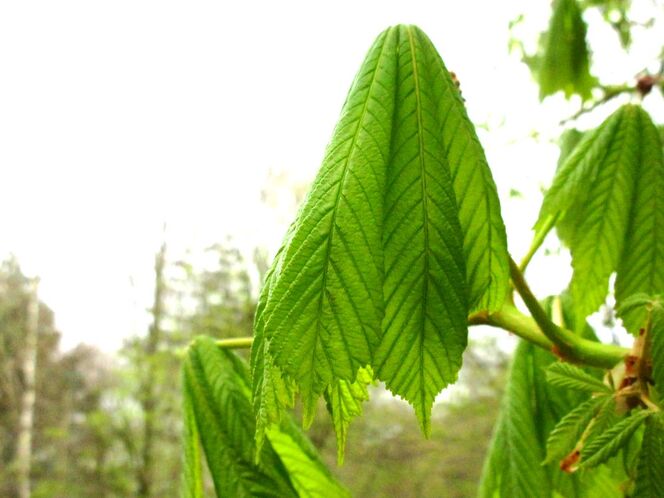
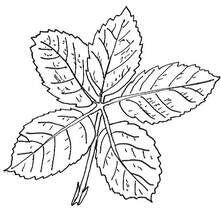
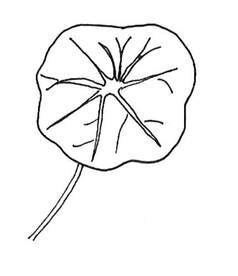
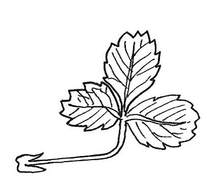
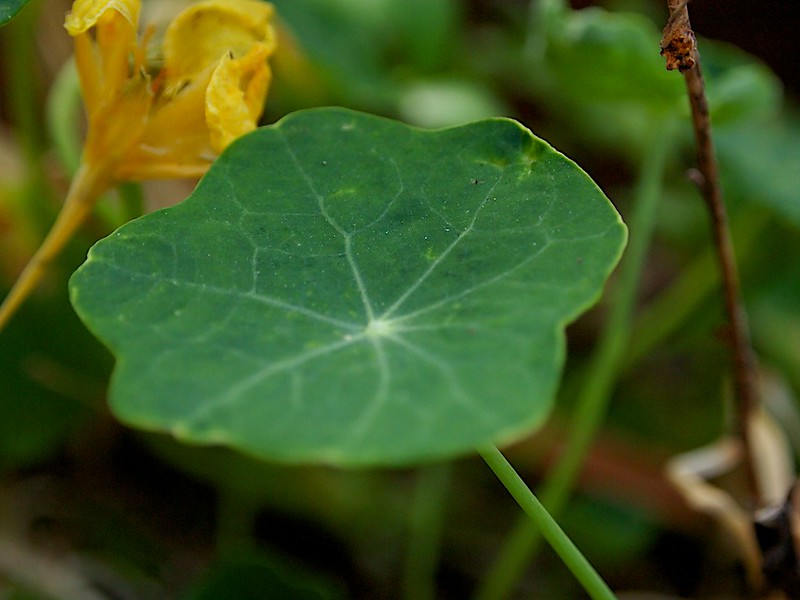
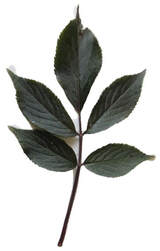
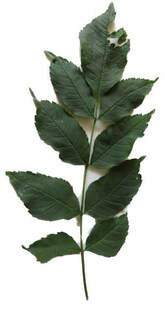
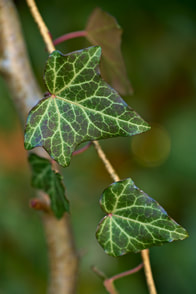
5. Look at the pattern of the veins. Veins act as umbrella spokes, not only taking food to the leaf, but providing support, like umbrella spokes. Some veins come out from a central point (see Nasturtium), while others spur off from a central 'spine' (Bramble and Wild Strawberry). Others like the Ivy have several larger veins, radiating from the base, from which smaller veins branch off.
6. Note which leaves have a stalk - some leaves do not have stalks, rather join straight to the stem, or come out from the base of the plant (like those growing form bulbs). 7. Then feel your leaves. Can you describe them? Are they; hairy, rough, smooth, soft, prickly, tough or ? 8. Last of all, look at the colour of your leaves. If it is spring/summer then ask: Are they all the same shade of green? Turn them over. Are they lighter or darker on the underside. You should find that they are lighter. If autumn ask (for example): Are all the leaves on this plant all changing the same colour? What colours can I see? You will have learnt a lot about your leaves. Now to help your children do the same! Decide on four differing kinds of leaves (that you can identify) to show your children in detail (you can always take samples of others that take the children's inerest back to class). Try and find some that are notched and others that are all in one piece; leaves with differing vein patterns; leaves with different textures etc.. Obviously, to show the whole class you want something that is easily visible to them all. Trees are good - as are bushes, or clumps of smaller plants. Plan your route. Now you are ready to take your class on a leaf exploration outing. We are going on a leaf hunt! 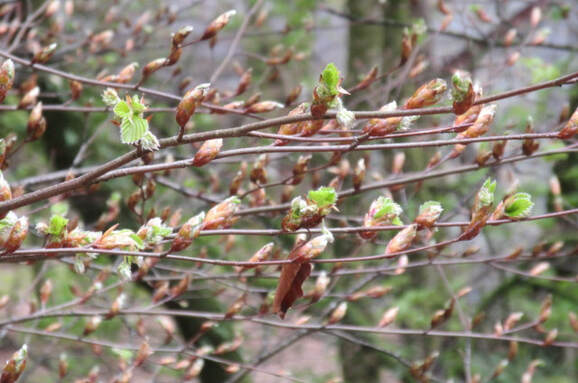
They should use simple features to compare objects, materials and living things and, with help, decide how to sort and group them, observe changes over time, and, with guidance, they should begin to notice patterns and relationships. The leaf huntChoose a suitable time for your leaf hunt. Start the walk. As you walk, point out any new growth/leaves changing colour that you see and challenge the children to tell of what they see - even if they are not the leaves you have chosen. They will probably take more notice of their own finds! Take the children to leaf number 1. Direct their attention to it. First note where the plant is growing and what kind of plant it is. Draw the children's attention to the leaves and note any points of interest, either in shape, texture, way of growing (e.g. stalk or no stalk). Let them feel the leaves, stressing the need to look after the plant and not be rough with it. Dont' expect the children to come up with questions of their own yet - that takes time and lots of modelling first. Then move on to the second leaf. Do the same, though this time you can compare it to the last leaf. Model asking question to compare: Is this leaf the same colour as the last one? Is it the same shape? Is it bigger or smaller? Does it feel the same? How does it join to the plant? Can you see the veins? Which way do they go? Are they the same pattern as the other leaves we looked at? Then the third and in turn the fourth. Try and encourage the children to compare with the previous leaves as much as you can. Be aware of children who may be hanging at the back of the group. Engage them as much as you can and try and ensure that all children have at least touched all four leaf types. This practical work will have given your class first hand experience, which will help to make the next part of the lesson relevant to them. Sorting leaves
Back in class or in the next lesson, use the pictures of leaves in our 'Leaf Pack' (or use supply your own) and show them to the children. It is best if you can print them out large enough for all the children to see. Tell the children that you are going to sort the leaves in different ways. Encourage them to tell you which leaves could go together and why they go together. Different children could be asked to hold each leaf and move around as need be. A smaller set could be made available for children to sort by themselves.
Sort by: shape - leaflet or all in one piece edge smooth, prickly, zig-zag, deeply cut edge. pattern of veins - spurs from a spine of like umbrella spokes? There are various ways this can be done - find the way you are most comfortable with. A. You could give a leaf to a child to hold for all to see and then hold up each of the other leaves in turn, inviting children to say if they think the leaf you are holding is the same in any way to the one held by the child. B. If you want a more lively lesson, you could assign a certain number of say 5 pictures to a group of children and ask them to group themselves together by deciding whose leaves were alike in some way. The children whould tell everyone why they think the leaves they chose to join with are like their own and the rest of the class can be the judge as to whether they agree or not. C. You can also play a leaf naming game, where the children must match the leaf with its name. Start with 3 or 4 of the most obviously shaped leaves. Most importantly, after the lesson, encourage the children to look for different kinds of leaves for themselves. Always pay great attention to childrens own observations.
Extension activitiesDrawing leaves
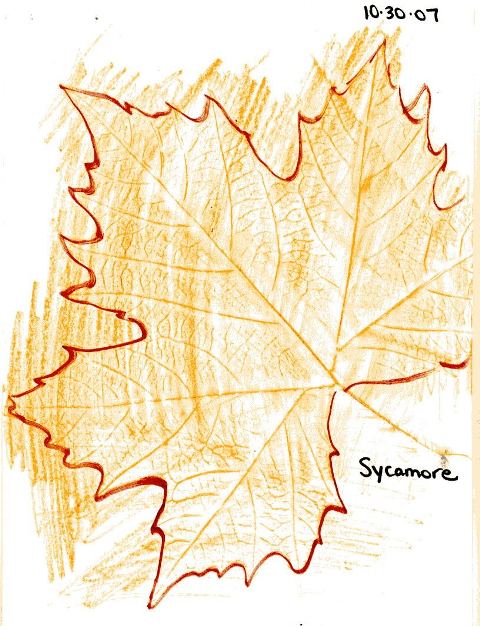
I always like to have sketch pads for the children to keep all of their natural science work together in one place. However you choose to work, have the children sketch a leaf. Do not reward drawing prowess, but rather observations: "I see you have noticed the pattern of the veins." "Well done - you have noticed the spiky edge of the leaf" etc.. The really keen can sketch more than one leaf.
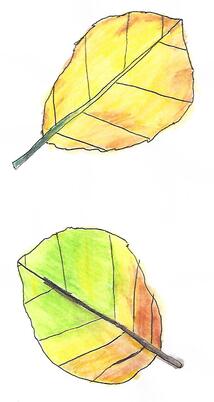
This child drew autumn leaves and you can see the attention given to shape, and vein pattern.
Mixing shades of green
In the art class, the lesson can be extended to mixing leaf shades. If it is spring, then they can mix shades of green, if autumn, then shades of autumn. Each child could be given leaf outlines to paint - each a different shade of green.
In spring, challenge the children to give a name to their shade of green. The leaves could be displayed on a tree with the shades. For autumn, autumn words could be displayed. 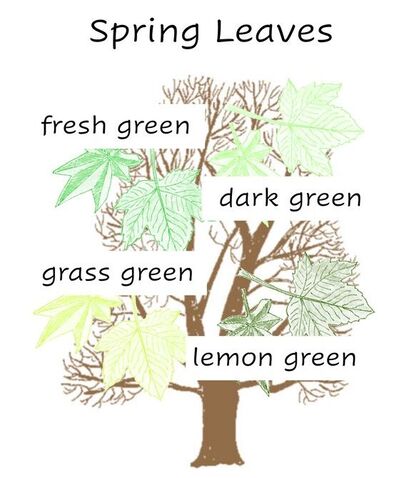
Leaf rubbings
These are great for looking at vein patterns. choose leaves with prominent veins. Tree leaves are particularly good for rubbing.
Our teaching pack:
Contains leaf pictures for you to print out and use
Smaller images for indivual/group sorting A leaf recording sheet A leaf outline for painting Download your Leaf pack NOW!
|
Welcome Hello, I am Lilibette (B.Ed Hons Early Years, Studies in the Environment Specialism Course), here to encourage the next generation to love the natural world, and thereby learn the necessary skills and knowledge to look after it in the years ahead. Read more... Categories
All
Popular Resources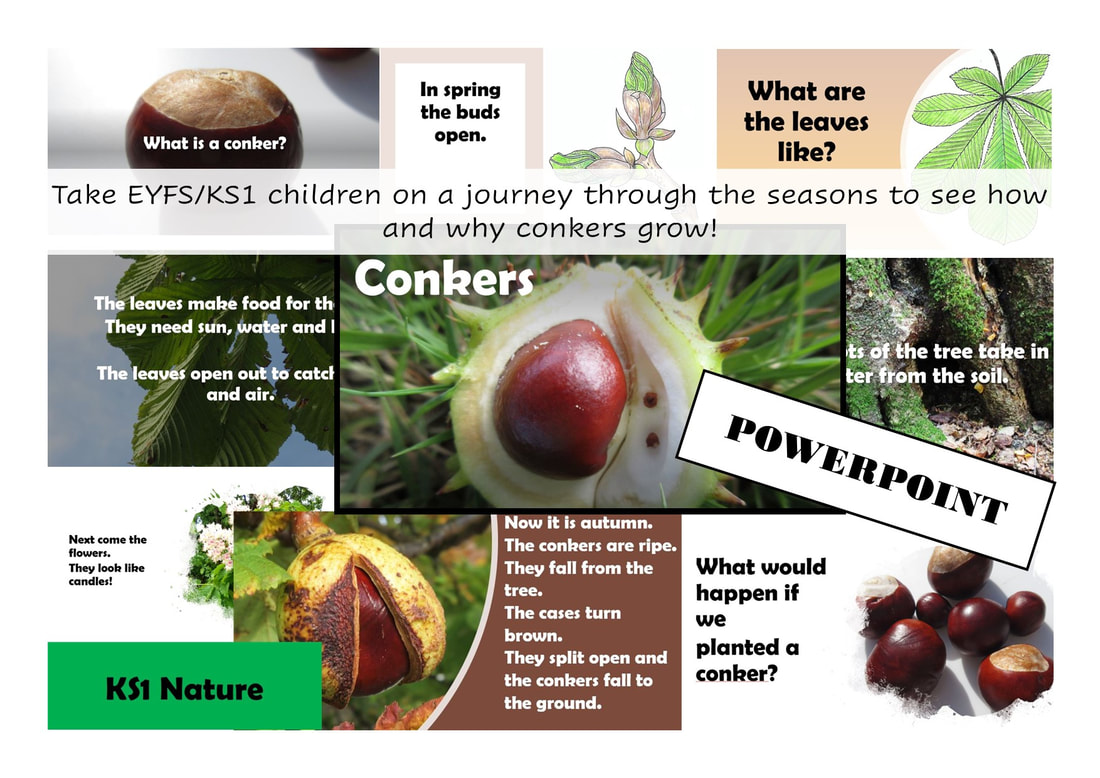
Conkers Power Point
Why do leaves fall?
Power Point
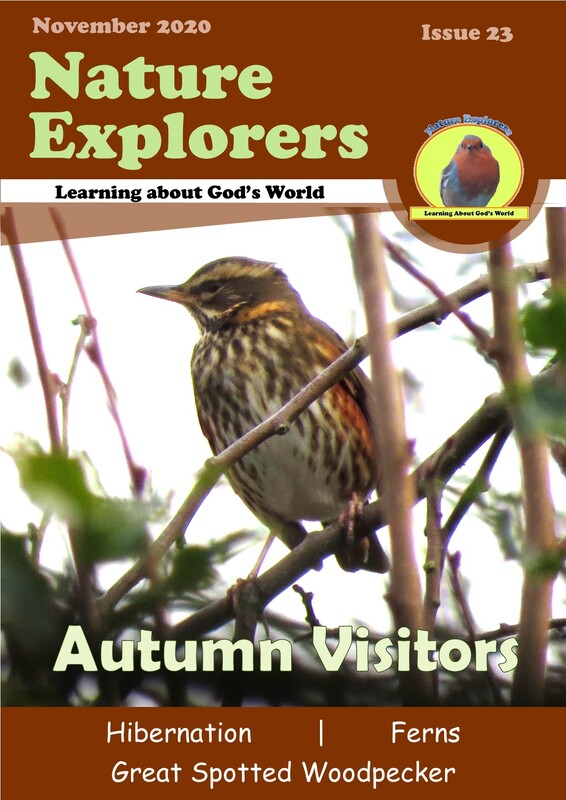
Monthly nature magazine for Christian families and schools
|


 RSS Feed
