|
|
Natural Science Lessons for KS1We are a participant in the Amazon Services LLC Associates Program, an affiliate advertising program designed to provide a means for us to earn fees by linking to Amazon.com and affiliated sites. This costs the purchaser nothing extra. In this way I can continue to provide free resources. Thank you for your support. |
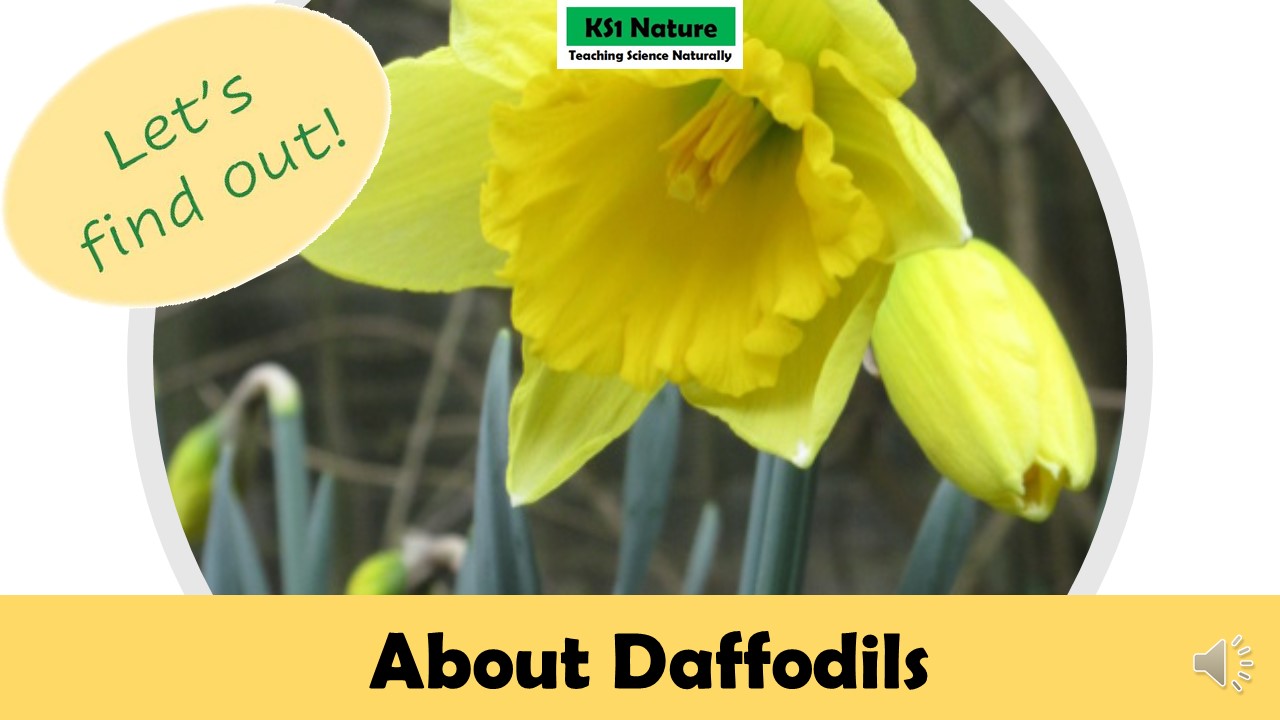
What can children learn from a humble Daffodil? LOTS!
Why do we try and avoid teaching children about the world in which they live and go for the 'whacky' science that we think will thrill, as if nature is dull and boring? We rush through the attainment targets and programmes of study for plants and animals to get on to the 'good' bits. Is that because our own knowledge of nature is so limited - we do not know the 'good' bits for ourselves? Are our own lives so divorced from the natural world around us? To quote from Primal Meats - a farm where food is grown naturally and in harmony with nature (and this statement is true whether you eat meat or do not) :
Modern humans have a mind-boggling capacity to create complicated things. From bikes, cars and trains, to quantum computers that ‘think’ and learn for themselves.
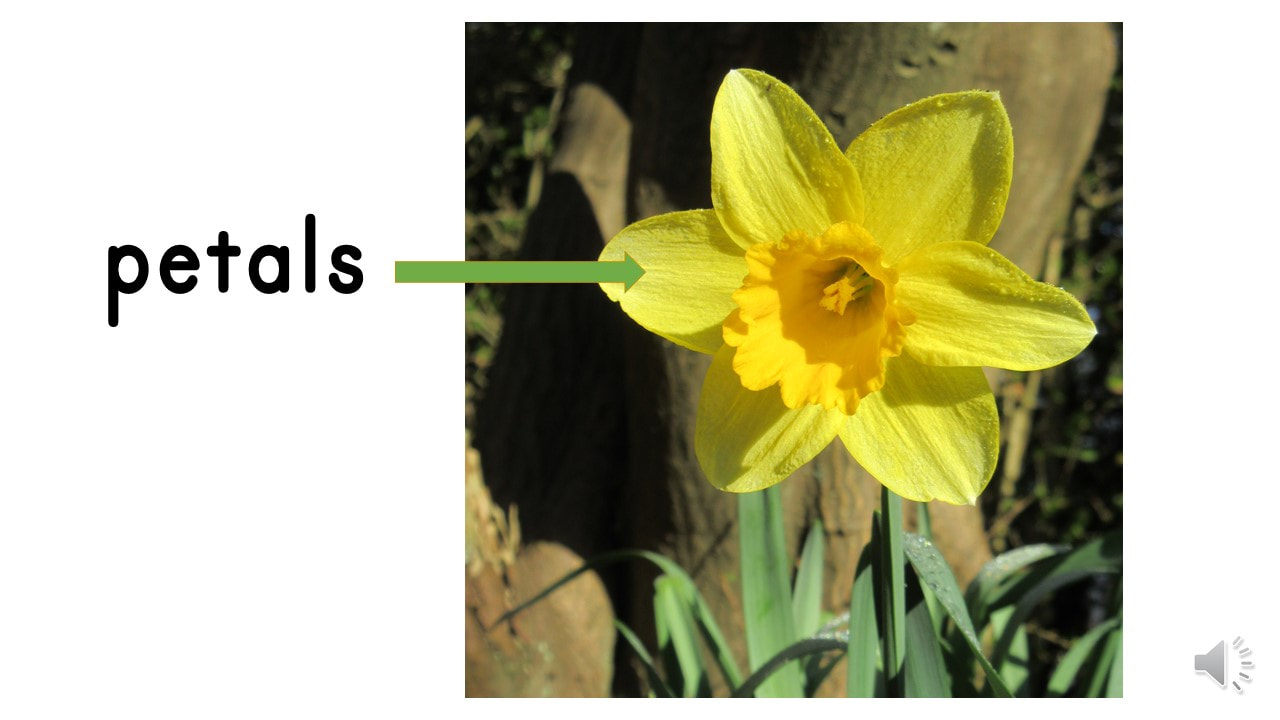
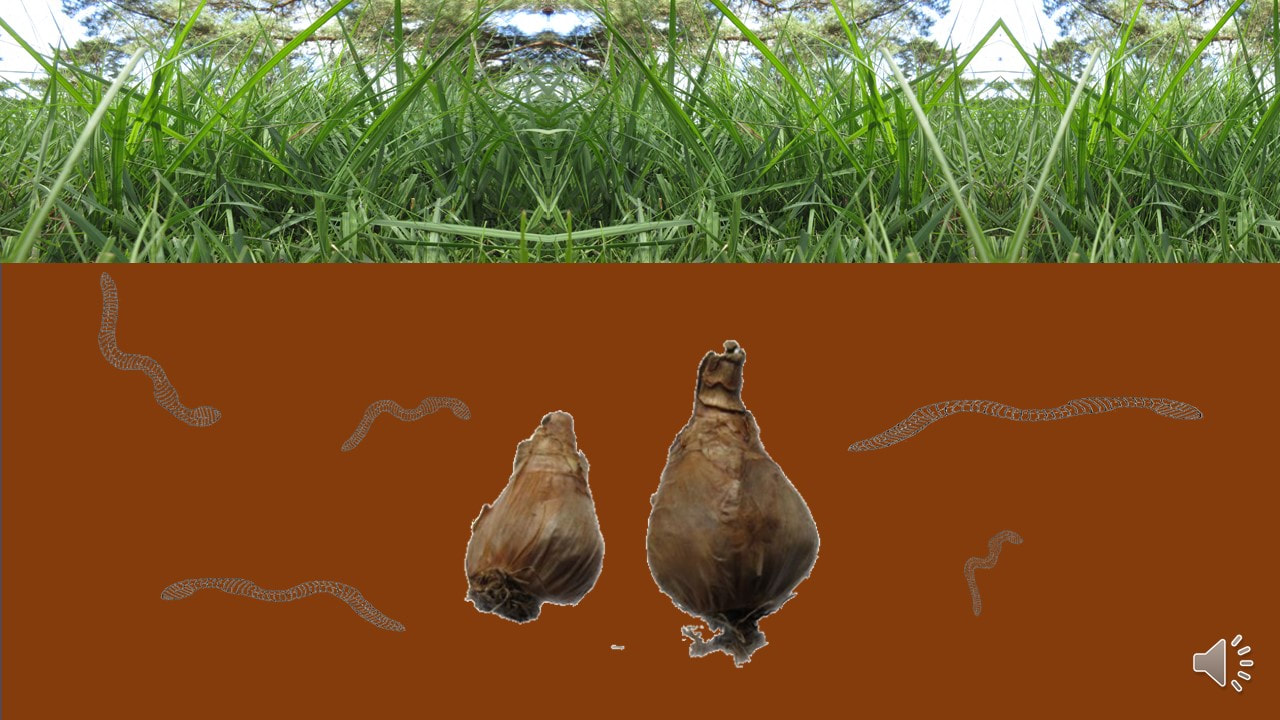
Yet, we are the only species that has consciously and actively destroyed its own habitat. Today’s world is plagued with problems: Climate emergency, biodiversity collapse, viral pandemics, human trafficking, escalating conflict and mass migration all of which we tackle in ever more sophisticated ways. Are we so drunk on our masterful achievements that we no longer think we have to live by universal laws? Do we see ourselves as entirely outside and beyond nature? Natural law, no longer relevant, living in a world where all is out-sourced and out of sight? I believe that the most significant challenge we face today is not climate change, world hunger or a killer virus - these are all symptoms - it’s our inability to understand and work with complexity or find the real root cause of an issue. https://www.primalmeats.co.uk/ I believe this to be true. We have made a god of economics and technology - a god that is inhuman and panders to greed. Sticking plasters on our climate and trying to solve all of the other problems while worshipping these false gods will only lead to more of the same - self destruction. It is only when we get our priorities right and start to work with the natural world, rather than against it, learning about a Creator rather than believing that man is at the whim of chance, that we will put things right. Mankind thinks he has outgrown these nursery subjects and surpassed them - but now, as never before, we need to truly acknowledge we have never even started to learn them. Our very souls are perishing. This means that all of us need to start listening and opening our eyes to the wonders around us - the miracle of life. Scientists can play with life - and do so to our detriment, murdering in the process. But they cannot create life; only robots - the nearest, ugliest equivalent they can come up with. Do we really want to be robots? Unloving, cold, lumps of machinery? The natural world teaches us about a God of love. It teaches us how to work with each other - as we study how all life is interdependent on each other. It reaches into our souls, like no robot ever will. So back to our Daffodil - a miracle story starting with a dead looking bulb under the ground? Is it alive or not - well wait and see! If you can plant a Daffodil bulb in autumn, with your children, pop it into a dark place and leave it until it starts to put out a shoot - then put it into a light place to continue growing. Then you can have the excitement of watching your daffodil grow, day by day. If not - find some nearby that can be watched and do bring a bunch of tight buds into the classroom. They will open very quickly in the warmth. Leaves grow, the stems and buds covered with a clear, obvious papery covering called the Calyx, followed by a yellow bud breaking through the calyx, the unfolding of the petals into the full bloom. The names of the different parts of the plant are learnt naturally - no dull boring worksheets. I still remember children dashing into the classroom in the morning: "It's out, Miss!" Oh that wonderful, glorious moment, after all that waiting! 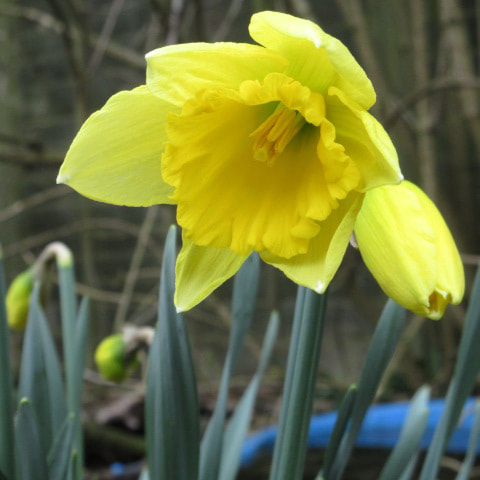
Using the study of Daffodils to teach the National Curriculum for science
A study of Daffodils easily covers a large part of the National Curriculum for Science Programme of Study for plants in Years 1 and 2:

Learn with our PowerPoint Presentation
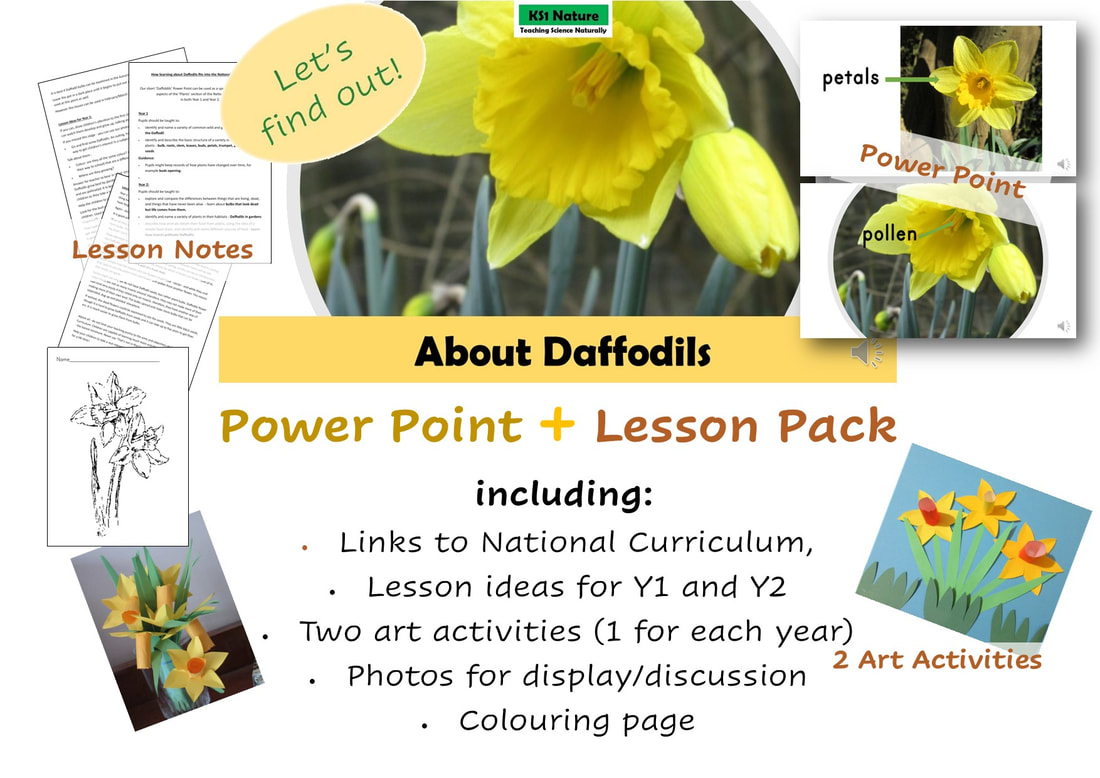
Our Power Point Daffodil lesson provides a starting stimulus to find out more or a wrap up to consolidate knowledge. Eighteen narrated slides - see how a Daffodil grows.
Purchase our Daffodil lesson Pack now!
Our spring Daffodil Lesson Pack for KS1 includes:
0 Comments
Isn’t it lovely when we all work together to help each other?
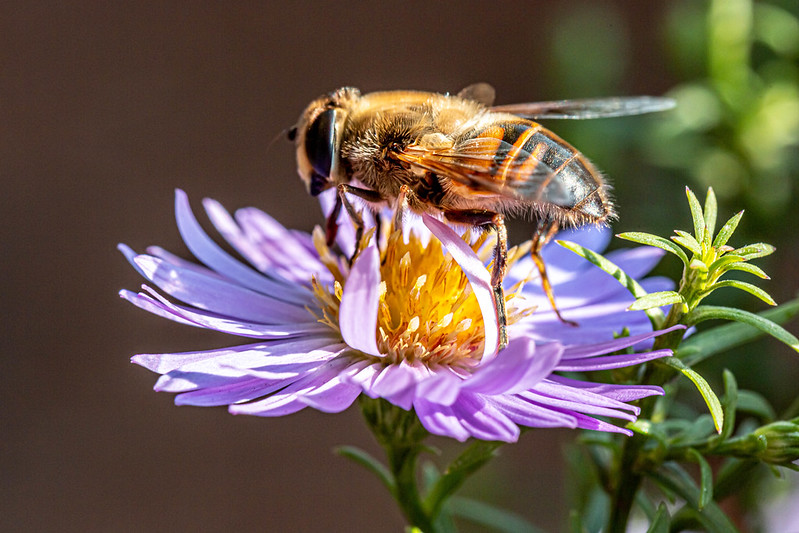
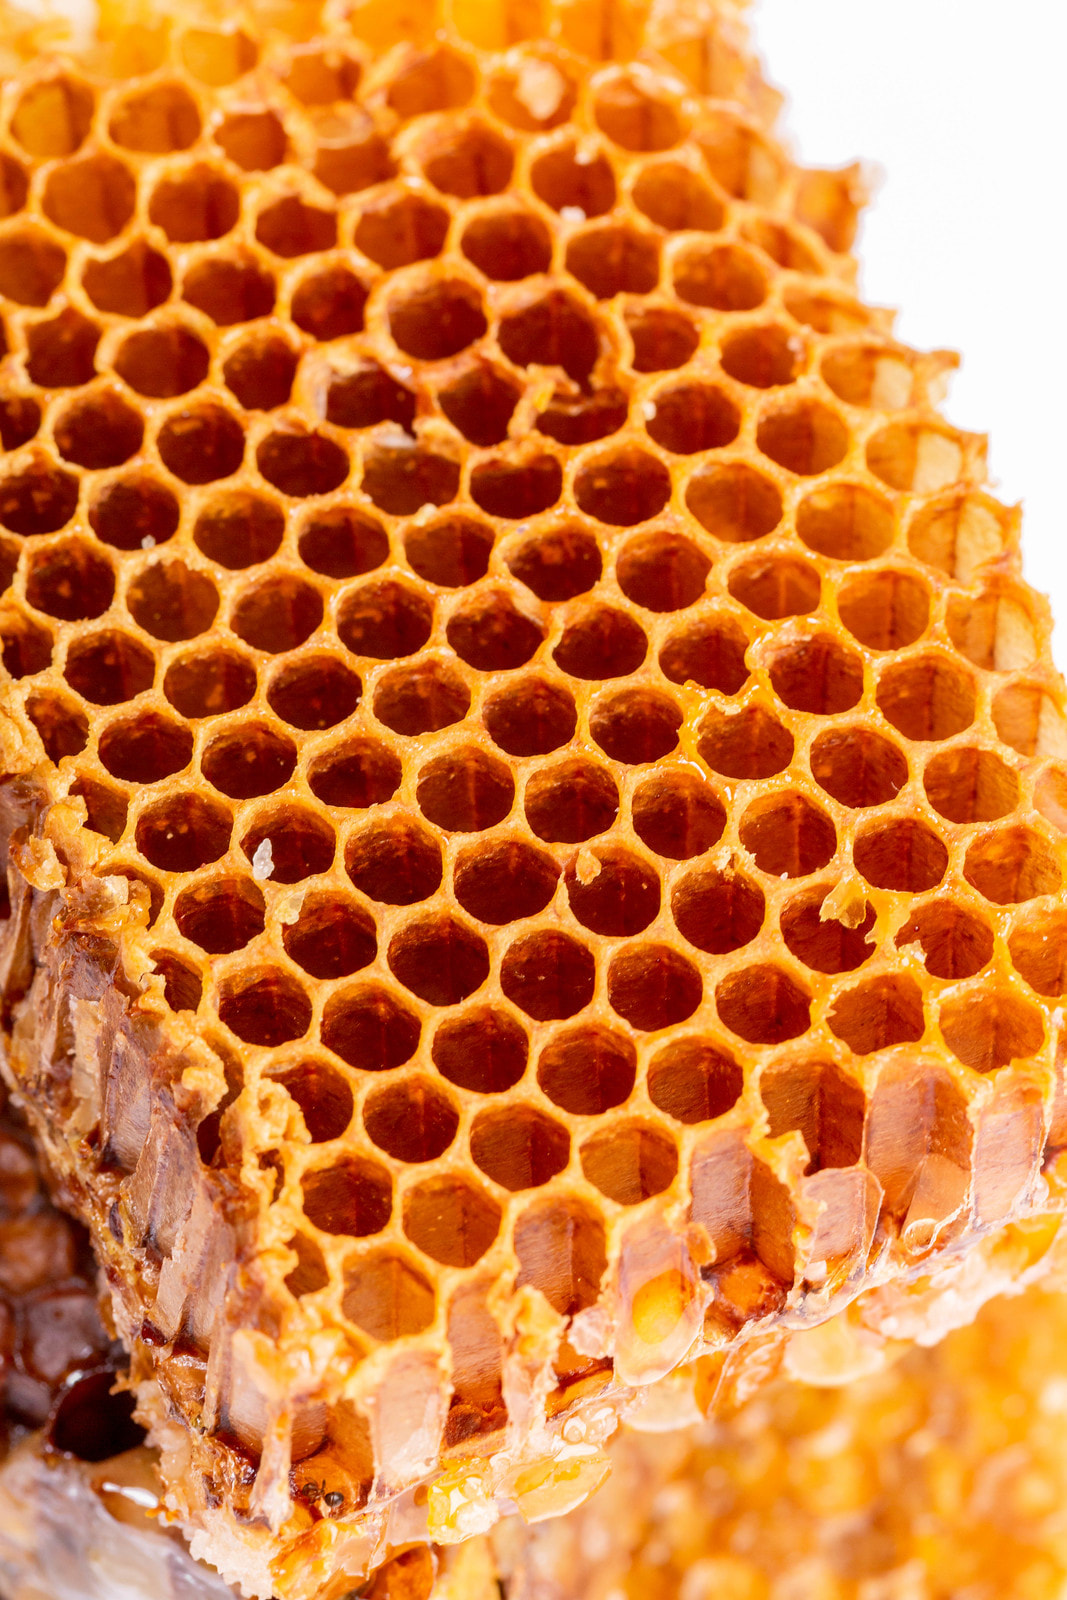
Bees work together too. The swarm live together in a hive and share the work between them. Let’s find out what they do!
The Workers are the smallest bees in the hive. They are the busiest. They fly from flower to flower gathering nectar and pollen.
They suck up nectar and the pollen sticks to the hairs on their bodies. They use their legs to scrape the pollen off and push it into grooves on the side of their back legs. Once they are full, they fly back to the hive. 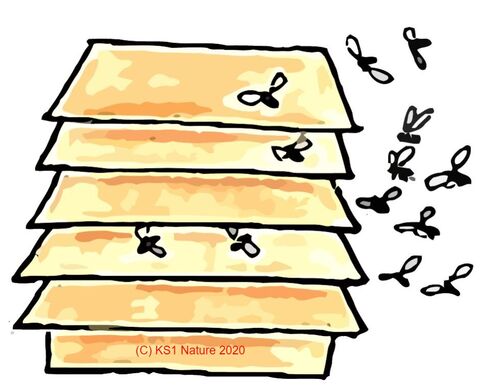
2. Off go the Workers to collect nectar and pollen.
When they come back, the younger workers take the pollen from them and make it into bee bread. Then they fill the cells with the honey they have brought from the flowers. 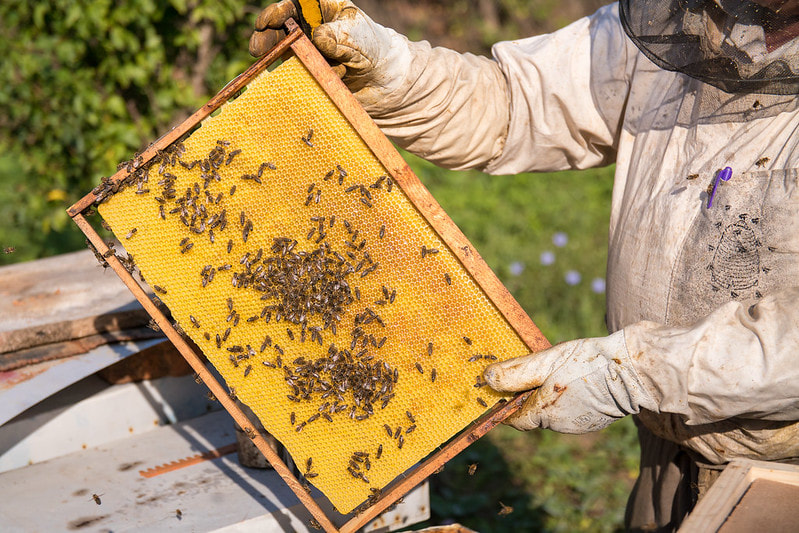
3. The Queen lays her eggs - one in each little cell. After four days the egg hatches into a little grub which feeds on the honey it finds in the cell. It feeds and grows, feeds and grows. The younger Worker bees and Nurses fondly feed them for five or six days and then the top of each cell is covered with wax.
4. Inside each cell, the grubs spins themselves a robe of silk, called a cocoon.
Inside the cocoon, an amazing change takes place. The grubs change into young bees who eat their way out of the cells and join the workforce in the hive!
The Queen lays thousands of eggs all through the summer.
Most of them turn into Workers, some to Drones and a few are Princesses who are specially fed to grow into Queens. As well as Builders and Nurses there are Engineers who keep the hive cool by fanning it with their wings so that the wax doesn’t melt and bend in the hot sun. Other bees are Watchmen who guard the door to the hive and kill any enemies that try to get in. Next time you see a honey bee, think of all the work they do and how organsied they are! Thought for parents/teachers: Nature is not random, but rather shows signs of careful design. Carefully selected books about bees
How to use a study of wildflowers in the KS1 Science curriculum:
Wildflowers afford a pleasurable and meaningful way of drawing children's attention to the wonders of plants, their names and their habitats, especially in the months of May and June when they are at their most abundant. Wildflowers are colourful and are at a low level - the level of children who are much better at spotting these smaller parts of creation than we adults. Not least, they can be used to help children develop a love and appreciation of beauty, as it is beauty that is of great value to the soul and the formation of character, as teachers of old knew well, but we have forgotten in our modern era. By studying wildflowers and impressing upon children that fact that even scientists do not know everything there is to know about them, you can encourage them to take their study seriously. Expect that your class will become mini naturalists. Children will rise to the challenge and will learn beyond your expectations. They are capable of great things. A love of wildflowers now may or may not lead your class into a career in science, but it will give them an understanding of and a love for the natural world and encourage them to take greater care of it and live in harmony with it in years to come. By studying wildflowers, you will cover many parts of the National Curriculum for Science. Your pupils will naturally start to behave as scientists, asking questions gathering data to help them to answer them - all without you having to fabricate lessons to try and make it happen. Identifying and classifying will happen naturally as you discuss the plants you find, where they are found, which others you have found which are similar (e.g. those with trefoil leaves) and so on. Year 1 programme of study: · identify and name a variety of common wild and garden plants · identify and describe the basic structure of a variety of common flowering plants Year 2 Programme of study: · identify that most living things live in habitats to which they are suited and describe how different habitats provide for the basic needs of different kinds of animals and plants, and how they depend on each other · identify and name a variety of plants in their habitats How to study wildflowers: A wildflower hunt in the playground can be a useful starting point (a garden for a parent at home). Here the most common wildflowers will be found: obvious ones such as Dandelion, Daisy and Buttercup, but some of those mentioned here, which are less well known. If possible extend the learning outwards into other accessible areas - park, woodland, local streets, to broaden the range found. Each flower should be examined for:
Over time children should learn that wildflowers, like many other flowers, produce seeds in order to make more of themselves (reproduce). The ways in which the wildflowers do this forms an interesting study of itself. Teaching tips: keep lessons as practicable as possible. Young children do not need to record for the sake of recording and indeed such recording can stifle interest and is more likely to be detrimental to your long term aim of inculcating a love of the natural world. Sketching is a valuable exercise as it develops the powers of observation. Colouring pictures, although despised in classrooms once past the Early Years, is actually a wonderful way of encouraging children to take note of colour and shape and to help them remember the plant in the future. If it is felt that a child would enjoy recording his/her finds, then the recording sheet can be used. The flower head should be sketched paying attention to the number and shape of the petals. The leaf should be sketched, again noting the shape, The stalk should be described: is it round/square, smooth/hairy/prickly, colour? Does it come straight from the root or is their a single stem from which others branch off from it? As you choose your activities, always remember to keep them meaningful. Meaningful practical activities will have far lasting value. Do: encourage children not to pick wild flowers. Some, like daisies and Dandelions it is permissible to do so, and these can be taken back to class and dissected to examine their structure. Most others should be left in place so that they can seed. If they are growing in safe place, children can be taught to sketch them in situ. Photos can be taken for discussion and display back in class.
Extension activities:
 April showers bring forth May flowers!
Plants need water, warmth and light to grow. Rain in spring, along with the longer hours of daylight and hopefully more warmth, encourage the flowers to grow. In May you will see that our world is now full of colour - the bare earth from winter has come to life again!
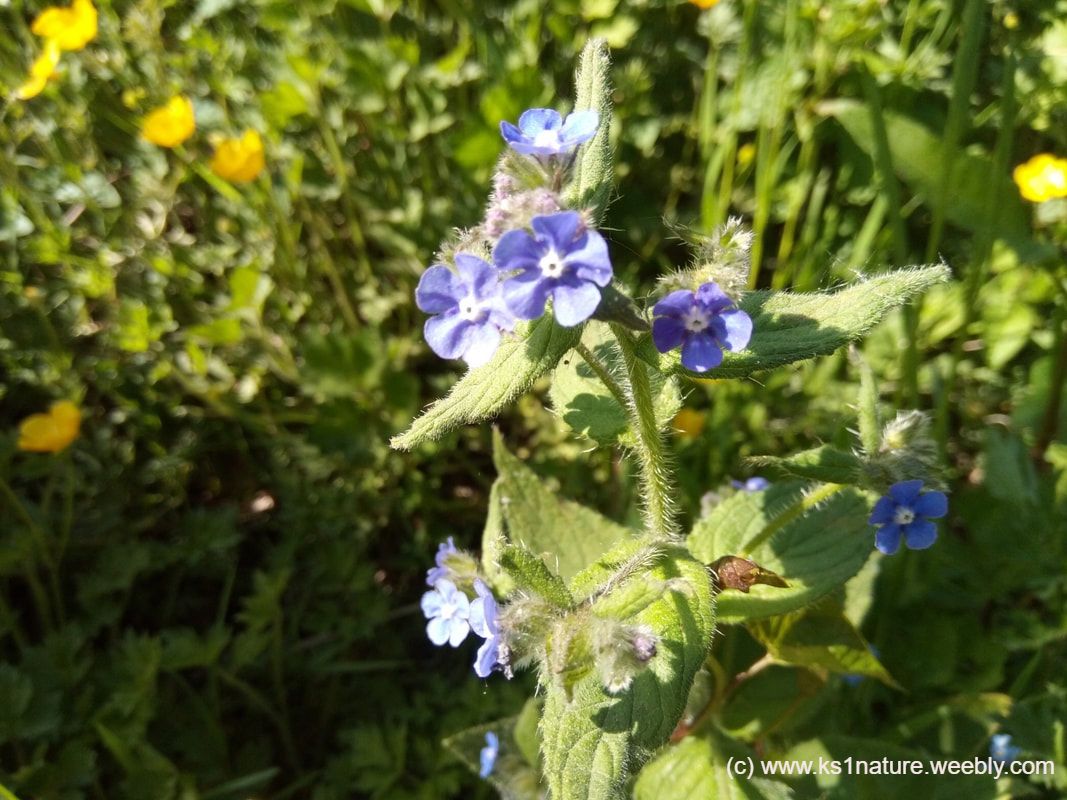
We live in a beautiful world. We can have much pleasure learning as much as we can about it. Today I will tell you a little bit about some of the flowers you might see. They are what we call ‘wild flowers’. That means that they have not been planted by anybody. Wild flowers can be just as pretty as the flowers that we grow in our gardens. You will find them in all sorts of places, like cracks in the pavements, under hedges or along the roadside. Keep your eyes open and see how many you can find. Try and learn the names of as many as you can. Of course, we all know the names of Dandelion and Daisy and buttercup, but there are many that you might not yet know.
Here are some to look for!
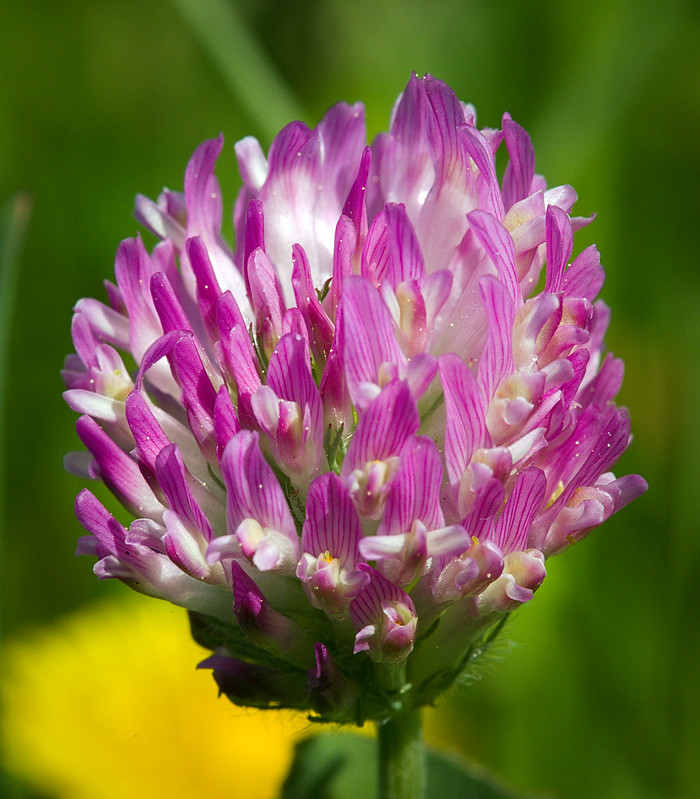
Red Clover
This flower is easy to find. Sometimes the flowers are large and other times small. The Red Clover belongs to the pea family. The leaves of the plant are ‘Trefoils’; that means that they grow in groups of three. Count them when you find some. One 'flower' is actually about thirty or fourty flowers growing, crowded together at the end of the stalk. If you pull one tiny flower out and examine it, you will find that it is just like those of others in the pea family. If you want to know what pea flowers are like then you could grow some sweet peas - or even vegetable peas!
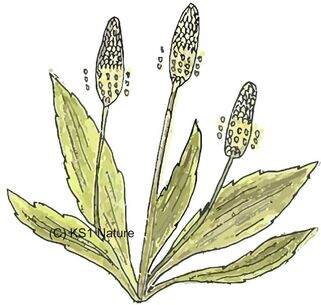
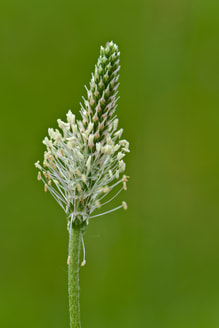
Ribwort Plaintain
This is another easy to find wild flower. In the past, children used to play a game called ’soldiers’ with it: you pick a stout plantain head each and then try to strike off the head of your friend’s plantain with it. If you fail, your friend has a turn to try and strike the head off of yours. Look at the ribs running up the leaves.
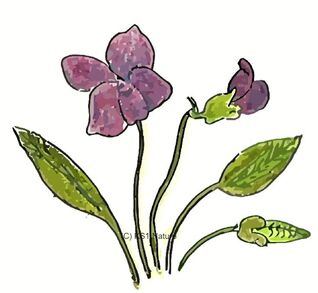
The narrow pointed leaves grow in a circle straight from the root. They are dark green on the top and silvery underneath. They have long ribs, running from top to bottom. The ribs are where the plant gets its name from - Ribwort. You will often find it growing amongst grass - especially on rough areas of ground. The flowers are closely crowded together in cone-shaped heads. When teh flowers are fully out you see a big cluster of little yellow dots on stalks coming out of the flower. Dog Violet
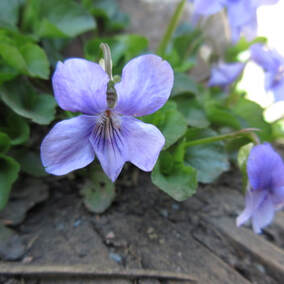
The Dog Violet begins to flower early in the summer. They grow in gardens, on banks and under hedges. They grow out of cracks in the ground. Each flower has five petals. Four petals are about the same size, and one hangs down at the front like an arrow pointing downwards. They are ever so pretty. There are plenty to be seen now. Although very small, if you look carefully you will see how the leaves of these plants are rolled when they first appear. When they open, they are heart-shaped with toothed edges. The stalks are so short so this plant grows very close to the ground.
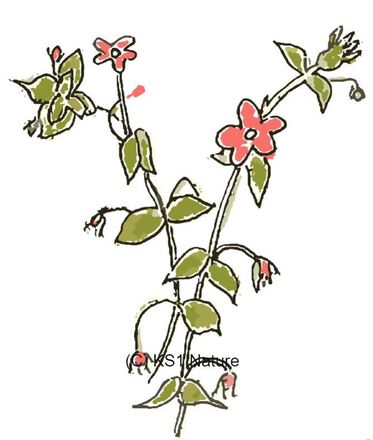
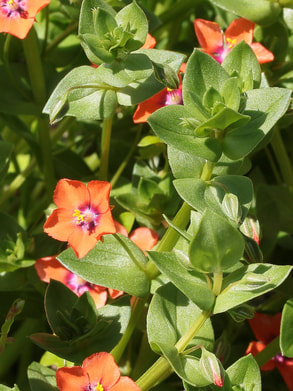
Scarlet Pimpernel
We do not have many bright red wild flowers so this one should be easy to spot growing by the wayside, or in fields. It blooms in summer and through to the autumn.
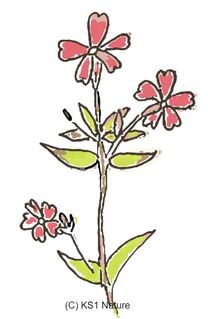
The flower have five small petals that join together around the centre like a wheel. In the centre is the seed vessel. Around the seeed vessel are five yellow-headed stamens. The slender stalks of the stamens are covered with hairs, as are the petals. This flower shuts up its petals when bad weather is coming. It has small, oval leaves with a point. The stalk is square and is not very strong, so this plant straggles along the ground. Red Campion
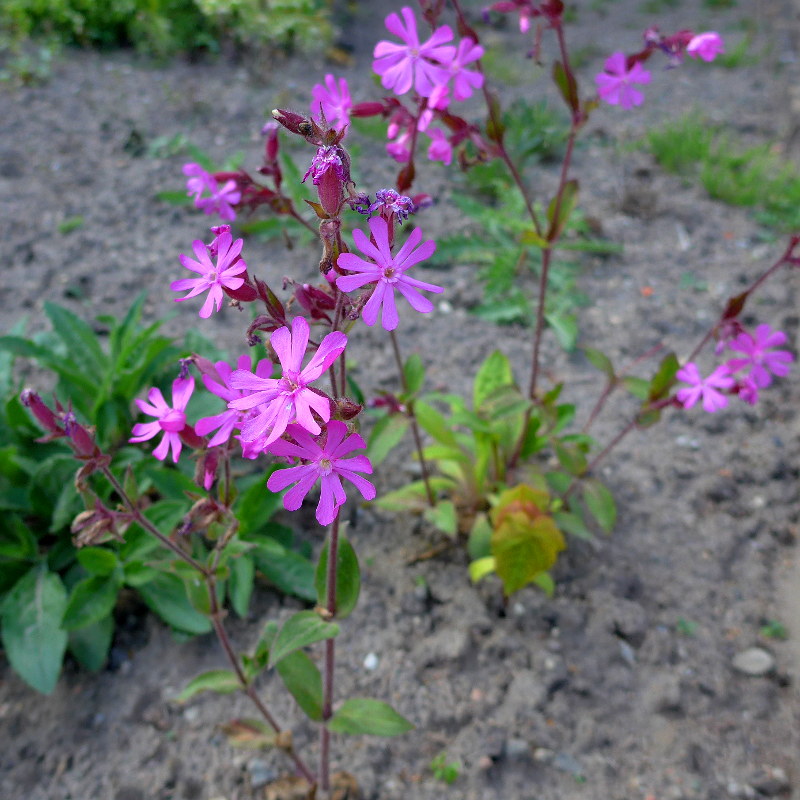
The Red Campion likes a damp place to grow, so look along by a stream or in a ditch or a shady place. It is deeper red/pinkier colour than the Scarlet Pimpernel. The flowers usually grow in pairs at the end of the pinky stalks which branch from the main stem. Each flower has five heart-shaped petals. The stem is red and sticky. See how the leaves grow in pairs, opposite each other near to the stem. If you crush the leaves, you will find that they give out a strong scent. There is also a White Campion which is almost the same, except the flowers are white.
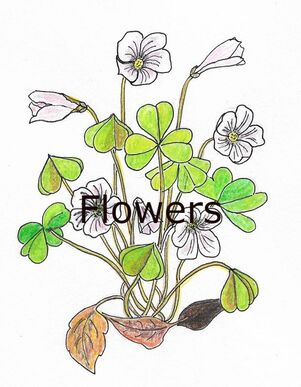
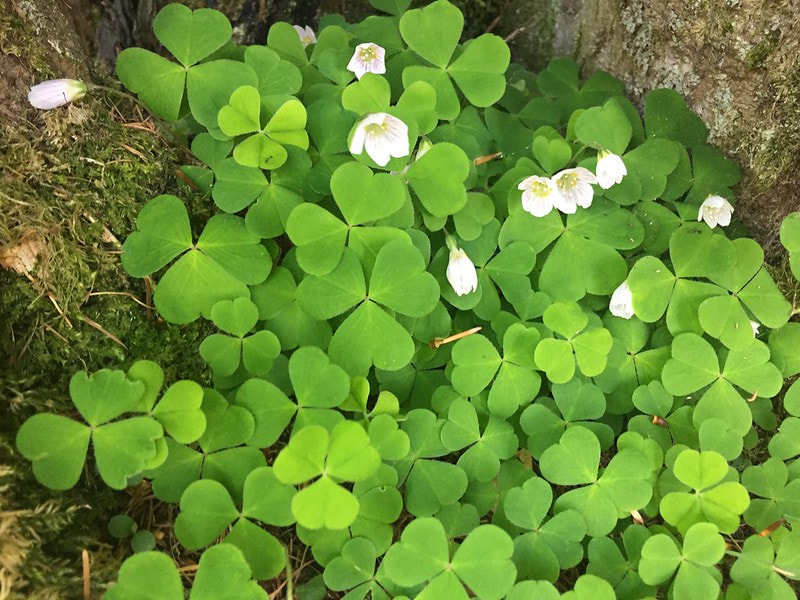
Wood Sorrel
Wood Sorrel likes to grow in more shady places, like woods, hence the name. There is one flower on each pinky stalk. Each large flower has five white petals, slightly tinged with pink. These petals are covered with fine veins and when the sun shines they open out nearly flat.
Look closele into the centre of the flower. You will see the yellow stamens: five are long and five are short. The leaves of the Wood Sorrel are divided into three leaflets and look rather like the leaf of the clover plant, only they are larger. The leaflets are heart-shaped and are like un-opened umbrellas before they open! See how the leaves and stalks all come out from the base of the plant. Things to do
Why not start a wildflower chart?
All you need to do is to draw up a chart like the one below and each week draw the wild flowers that you find. You could do one for each month and pin them up in your house. Next year you can have great fun looking to see if you see the same flowers each month, or if some appear earlier or later. 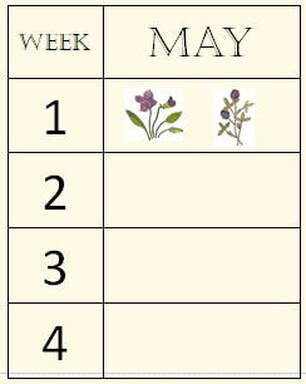
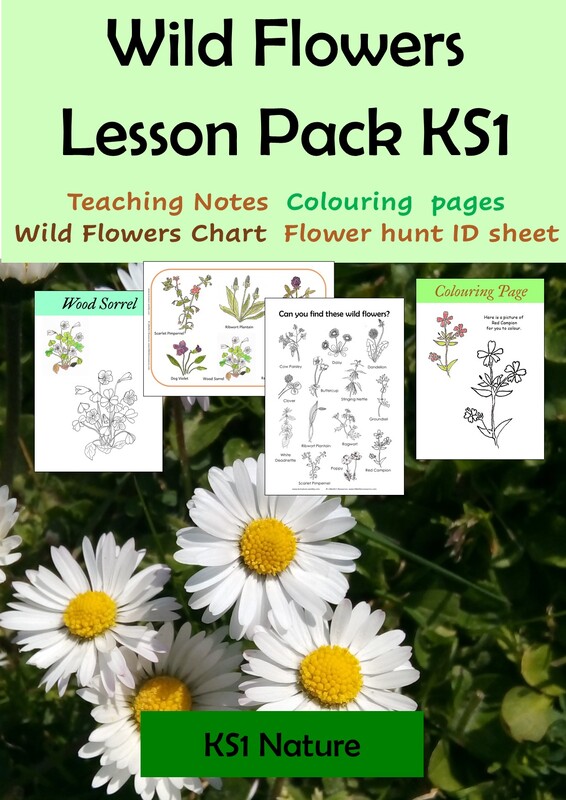
Download our FREE Pack with flowers to colour and a chart that you can either pin up in class or at home, or laminate to make a place mat to help make mealtimes educational.
This post contains affiliate links
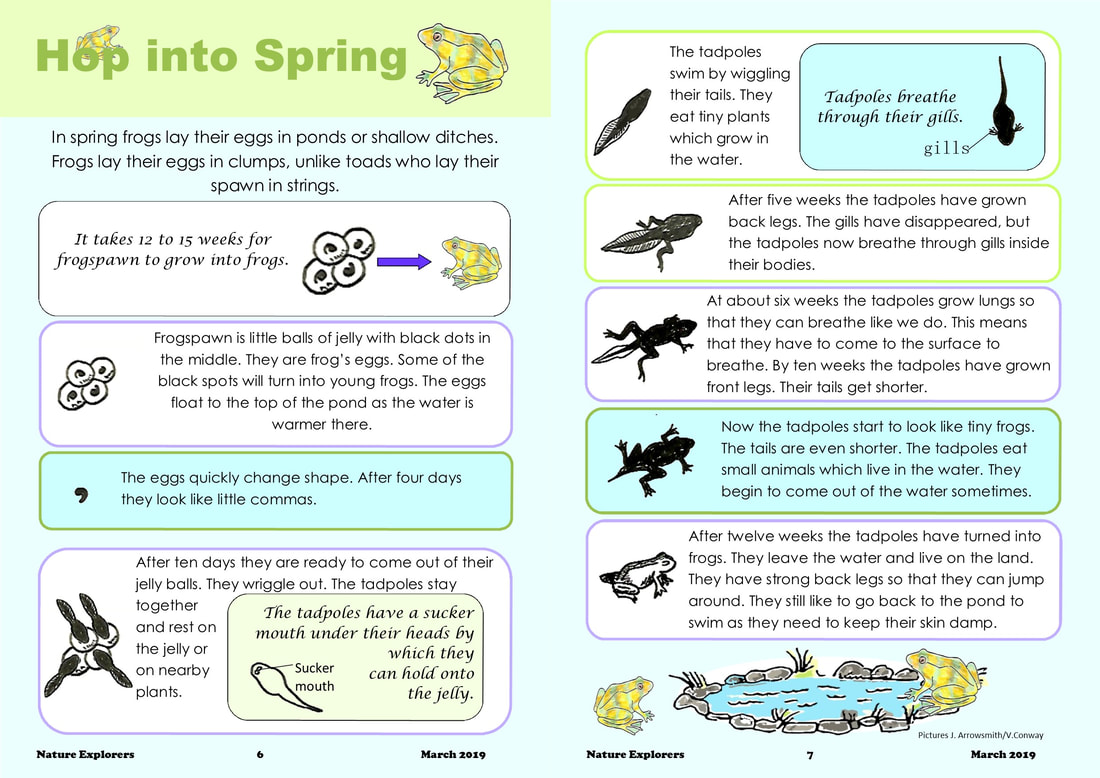
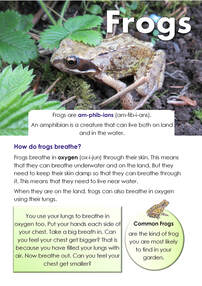
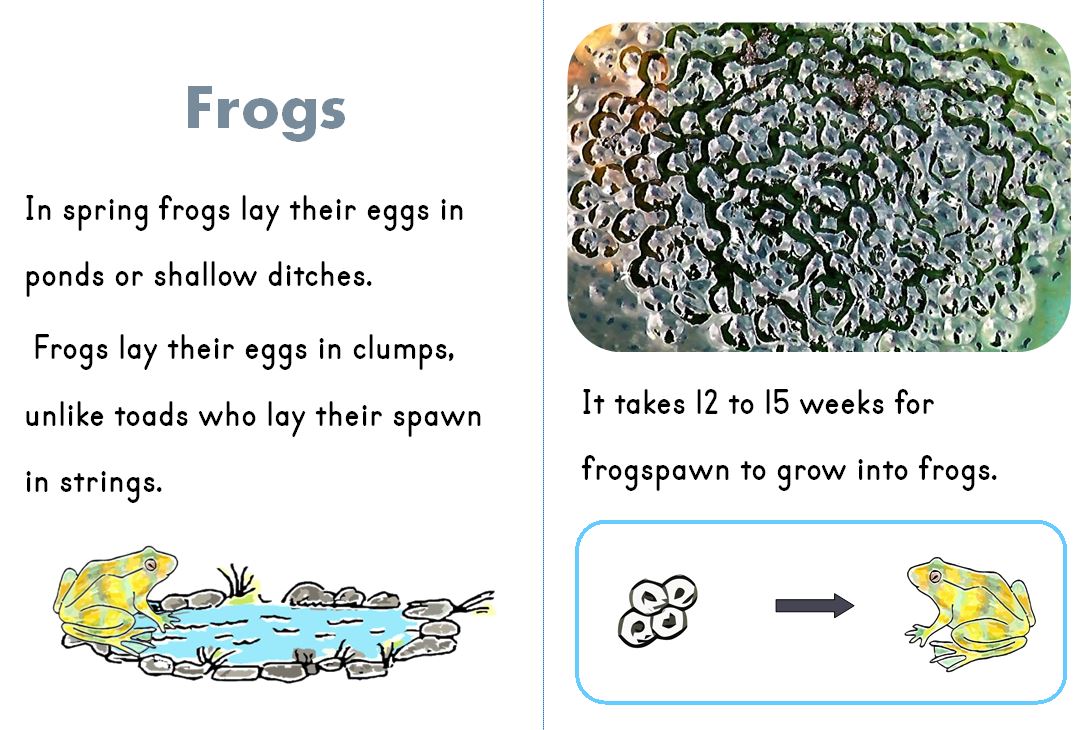
Have you seen any frogspawn?
Frogspawn can be found in ponds and shallow ditches from early spring. Keep your eyes open! Our Frogs Home Learning Pack can help you to learn all about how frogs grow. Start by reading our fact sheets. These are suitable for more confident readers to tackle by themselves, but ideal for teachers/parents to share with their children. Blow them up large and use for guided reading!
Linking English to science learning is a great motivator to children to want to learn to read!
What is in our Frog's Lifecycle Pack?
Further activities:Make a frog life-cycle book/chart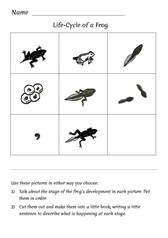
Make a simple little book from 3 pieces of A4 paper. Fold them in half. Draw a really good front cover and give your book a title. Cut out our pictures from the Life-cycle of a Frog sheet in our FREE pack. Stick one stage of the life-cycle on each page and write a little bit to describe what is happening.
If you can staple your book together, that is best, if not an adult could carefully stitch it for you with a bit of cotton thread. Or you could just make a Frog's Life-cycle Chart on a sheet of A4 paper. Decorate it beautifully! 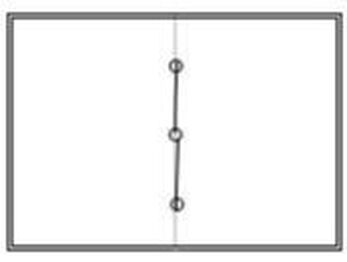
How to stitch a simple book

This is a great book for pre-schoolers!
Keep a frogspawn diary
If you find frogspawn, visit it regularly and note the changes that take place - see the cycle in our chart above. You could write your observations down in a nature diary.
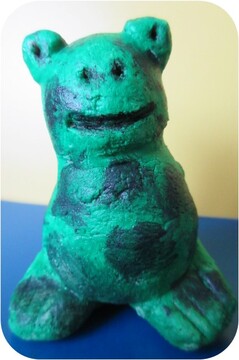
Make a saltdough frog!
Find the instructions in the pack!
 Read our FREE reading book
Our Frogs Easy Reading book can be downloaded for FREE from TES.
Written in a clear, easy to read font, for children who are beginning to enjoy more challenging texts.
Make a pond for wildlife Even a simple garden pond may have frogspawn laid in it - maybe not this year, but in the future. However, many small creatures would also benefit from a small pond in your garden. Birds need water to drink, and frogs need a means of keeping their skin damp and somewhere to lay their eggs. Small creatures, like mice may also enjoy a drink.
A simple pond can be made from a washing up bowl.
1) Dig a whole big enough for the bowl to sit in, so that its rim is level with the ground around. 2) Sit the bowl in the hole and place a large rock in the bottom for wildlife to be able to get out easily. 3) Fill with water - preferably rain water, or water from a water butt. 4) Ideally you would want some pond weed, if you can get some anywhere.
We hope you have enjoyed learning about frogs. There is so much to discover in this wonderful world of ours.
This post contains affiliate posts.
Bringing you our selection of the best books we can find to help you deliver the Science National Curriculum in spring, using the local environment. 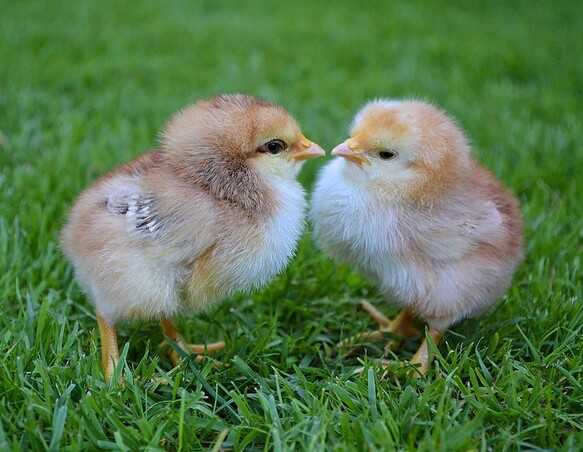
Words in italics are from the publishers.
Books about chickens and eggs
Books about the lifecycle of a frog
Books about the life-cycle of a butterfly
Books about growing plants
This post contains affiliate links.
This lesson can be studied in either spring, summer or autumn.
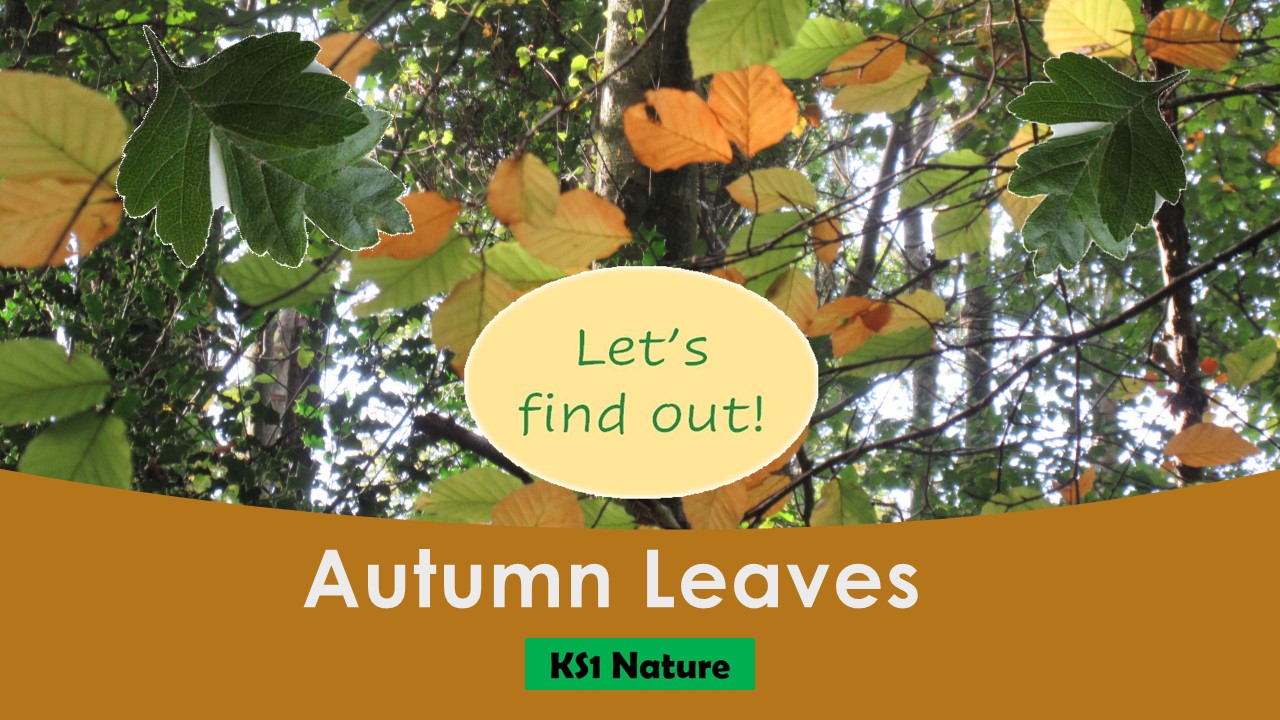
Why study leaves?
The National curriculum for KS1 places great emphasis on children learning about plants and animals in the local environment. This is central to success as young children learn best from what they can experience. They cannot experience foreign plants - they do not see them! Always start with what is there for them to see. After that, children should:
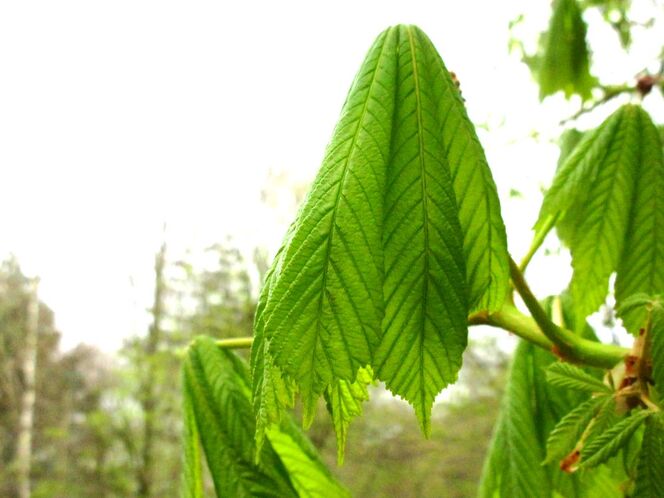
learn through the seasons learn to make observations learn to question learn to compare learn to record A study of leaves harnesses the natural interest of children as leaves are all around us. In spring we notice them more as they burst out in fresh greens and again in autumn as they change colour, but summer is just as good, when they are fully grown. In fact - it would be even better to study them twice in the year so that you could compare and contrast them in different seasons. It would be easy to miss them by as we are so familiar with them, however that is a mistake, as leaves are a major part of plants and are one of the main ways by which we can identify plants from each other. This lesson aims to help children to become more observant of leaves so that one day they can tell a plant by its leaves. It will also help them to become familiar with changes that plants undergo as the seasons change. This lesson will provide ample opportunity to question, compare, observe and it can always be followed up again in autumn when the leaves change: "Why have they changed? How have they changed? What will happen next? Most of the learning about science should be done through the use of first-hand practical experiences, Before the lesson - teacher preparation
The best KS1 lessons first observe the subject in situ. Even if most of the follow up work is done in class, your children will take in more of what you teach if they have first hand experience. So for this lesson, we will be taking the children out to look at leaves growing the local environment. Don't we all love a little outing! First you need to plan and learn for yourself.
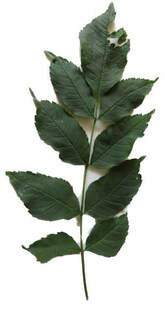
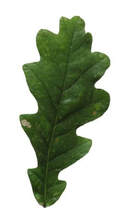
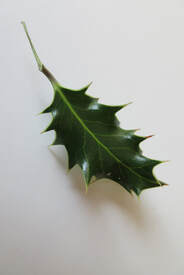
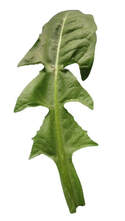
1. Go for a short exploratory walk around the school playground and if need be in the area around the school, looking for leaves that you can take your children to see. 2. Collect some leaves (for yourself). 3. Study your leaves. First identify them if you can. 4.Then look at their shape: Are they formed of several leaflets, or all in one piece? What is the edge like? deeply cut, smooth, prickly, zig-zag, etc...
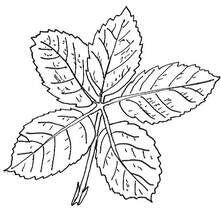
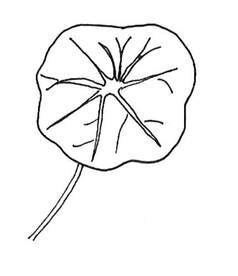
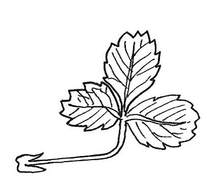
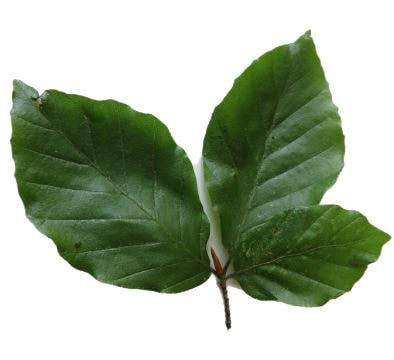
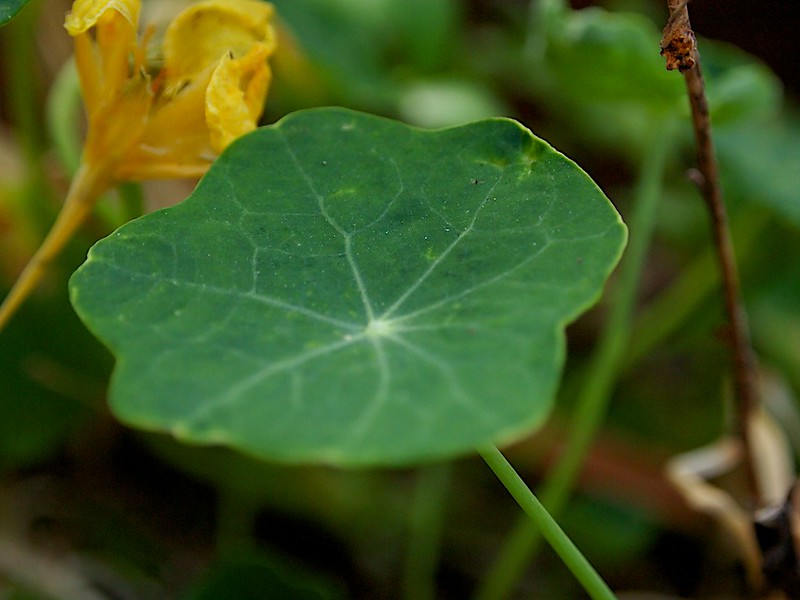
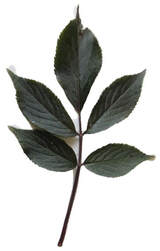
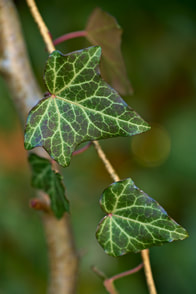
5. Look at the pattern of the veins. Veins act as umbrella spokes, not only taking food to the leaf, but providing support, like umbrella spokes. Some veins come out from a central point (see Nasturtium), while others spur off from a central 'spine' (Bramble and Wild Strawberry). Others like the Ivy have several larger veins, radiating from the base, from which smaller veins branch off.
6. Note which leaves have a stalk - some leaves do not have stalks, rather join straight to the stem, or come out from the base of the plant (like those growing form bulbs). 7. Then feel your leaves. Can you describe them? Are they; hairy, rough, smooth, soft, prickly, tough or ? 8. Last of all, look at the colour of your leaves. If it is spring/summer then ask: Are they all the same shade of green? Turn them over. Are they lighter or darker on the underside. You should find that they are lighter. If autumn ask (for example): Are all the leaves on this plant all changing the same colour? What colours can I see? You will have learnt a lot about your leaves. Now to help your children do the same! Decide on four differing kinds of leaves (that you can identify) to show your children in detail (you can always take samples of others that take the children's inerest back to class). Try and find some that are notched and others that are all in one piece; leaves with differing vein patterns; leaves with different textures etc.. Obviously, to show the whole class you want something that is easily visible to them all. Trees are good - as are bushes, or clumps of smaller plants. Plan your route. Now you are ready to take your class on a leaf exploration outing. We are going on a leaf hunt! 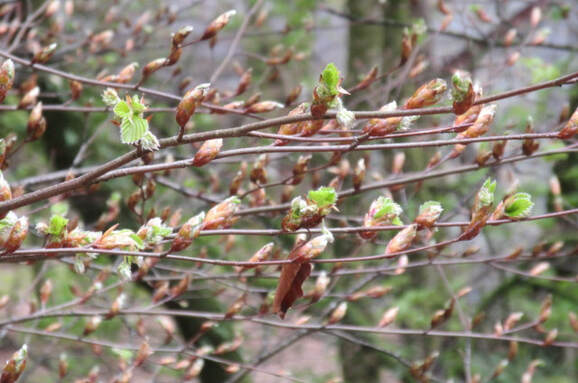
They should use simple features to compare objects, materials and living things and, with help, decide how to sort and group them, observe changes over time, and, with guidance, they should begin to notice patterns and relationships. The leaf huntChoose a suitable time for your leaf hunt. Start the walk. As you walk, point out any new growth/leaves changing colour that you see and challenge the children to tell of what they see - even if they are not the leaves you have chosen. They will probably take more notice of their own finds! Take the children to leaf number 1. Direct their attention to it. First note where the plant is growing and what kind of plant it is. Draw the children's attention to the leaves and note any points of interest, either in shape, texture, way of growing (e.g. stalk or no stalk). Let them feel the leaves, stressing the need to look after the plant and not be rough with it. Dont' expect the children to come up with questions of their own yet - that takes time and lots of modelling first. Then move on to the second leaf. Do the same, though this time you can compare it to the last leaf. Model asking question to compare: Is this leaf the same colour as the last one? Is it the same shape? Is it bigger or smaller? Does it feel the same? How does it join to the plant? Can you see the veins? Which way do they go? Are they the same pattern as the other leaves we looked at? Then the third and in turn the fourth. Try and encourage the children to compare with the previous leaves as much as you can. Be aware of children who may be hanging at the back of the group. Engage them as much as you can and try and ensure that all children have at least touched all four leaf types. This practical work will have given your class first hand experience, which will help to make the next part of the lesson relevant to them. Sorting leaves
Back in class or in the next lesson, use the pictures of leaves in our 'Leaf Pack' (or use supply your own) and show them to the children. It is best if you can print them out large enough for all the children to see. Tell the children that you are going to sort the leaves in different ways. Encourage them to tell you which leaves could go together and why they go together. Different children could be asked to hold each leaf and move around as need be. A smaller set could be made available for children to sort by themselves.
Sort by: shape - leaflet or all in one piece edge smooth, prickly, zig-zag, deeply cut edge. pattern of veins - spurs from a spine of like umbrella spokes? There are various ways this can be done - find the way you are most comfortable with. A. You could give a leaf to a child to hold for all to see and then hold up each of the other leaves in turn, inviting children to say if they think the leaf you are holding is the same in any way to the one held by the child. B. If you want a more lively lesson, you could assign a certain number of say 5 pictures to a group of children and ask them to group themselves together by deciding whose leaves were alike in some way. The children whould tell everyone why they think the leaves they chose to join with are like their own and the rest of the class can be the judge as to whether they agree or not. C. You can also play a leaf naming game, where the children must match the leaf with its name. Start with 3 or 4 of the most obviously shaped leaves. Most importantly, after the lesson, encourage the children to look for different kinds of leaves for themselves. Always pay great attention to childrens own observations.
Extension activitiesDrawing leaves
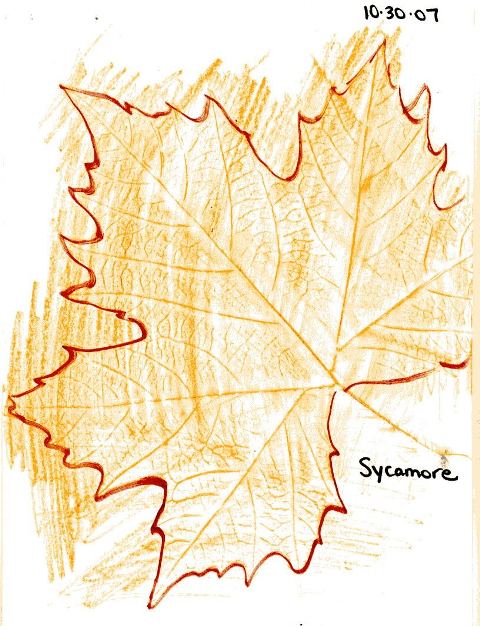
I always like to have sketch pads for the children to keep all of their natural science work together in one place. However you choose to work, have the children sketch a leaf. Do not reward drawing prowess, but rather observations: "I see you have noticed the pattern of the veins." "Well done - you have noticed the spiky edge of the leaf" etc.. The really keen can sketch more than one leaf.
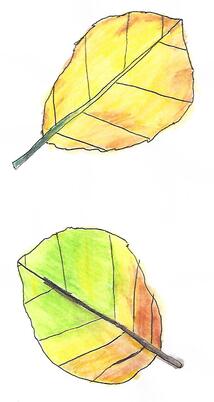
This child drew autumn leaves and you can see the attention given to shape, and vein pattern.
Mixing shades of green
In the art class, the lesson can be extended to mixing leaf shades. If it is spring, then they can mix shades of green, if autumn, then shades of autumn. Each child could be given leaf outlines to paint - each a different shade of green.
In spring, challenge the children to give a name to their shade of green. The leaves could be displayed on a tree with the shades. For autumn, autumn words could be displayed. 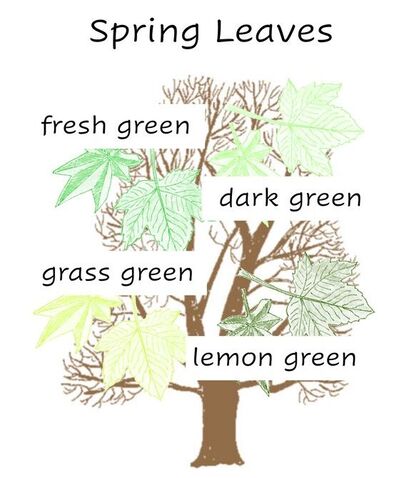
Leaf rubbings
These are great for looking at vein patterns. choose leaves with prominent veins. Tree leaves are particularly good for rubbing.
Our teaching pack:
Contains leaf pictures for you to print out and use
Smaller images for indivual/group sorting A leaf recording sheet A leaf outline for painting Download your Leaf pack NOW!
|
Welcome Hello, I am Lilibette (B.Ed Hons Early Years, Studies in the Environment Specialism Course), here to encourage the next generation to love the natural world, and thereby learn the necessary skills and knowledge to look after it in the years ahead. Read more... Categories
All
Popular Resources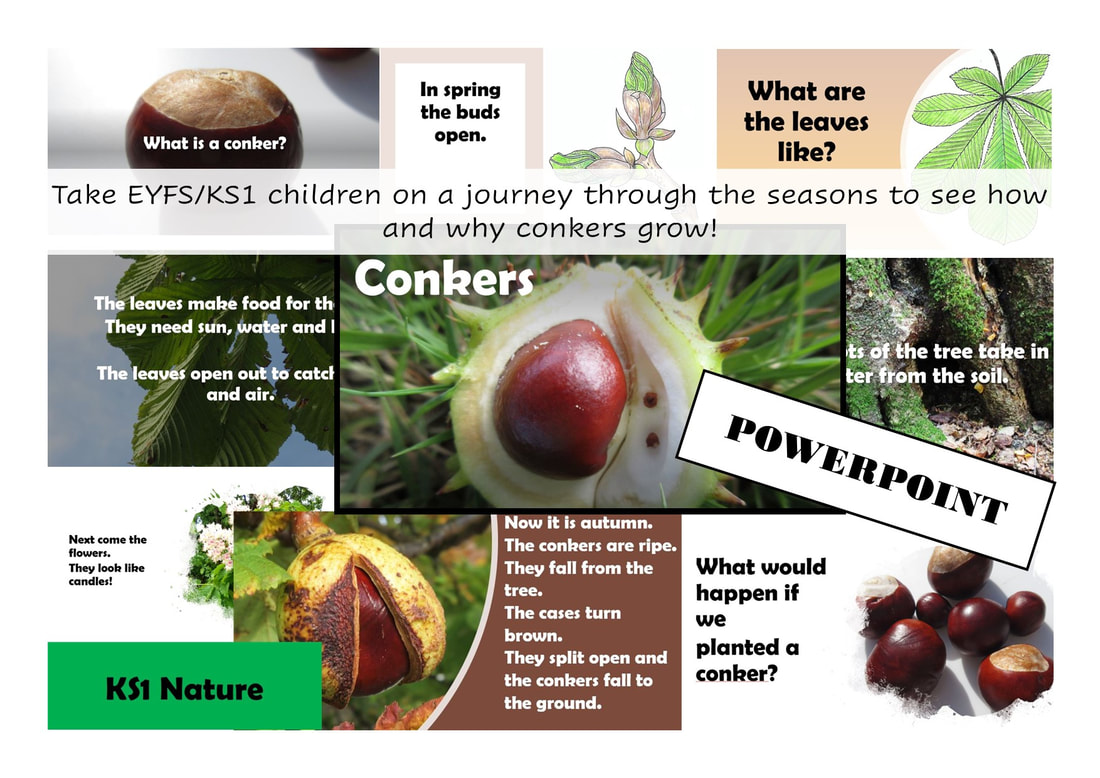
Conkers Power Point
Why do leaves fall?
Power Point
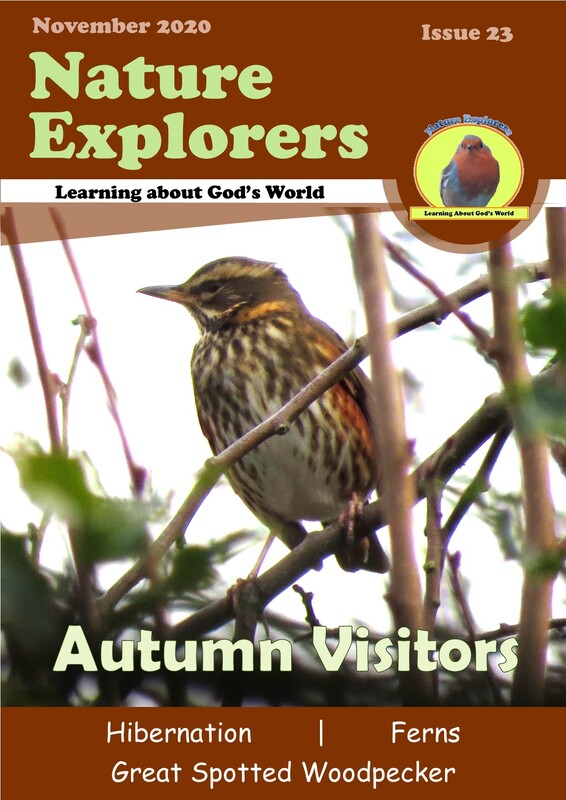
Monthly nature magazine for Christian families and schools
|


 RSS Feed
